You’ll be cooking up a storm with these plans on how to build a smoker. This outdoor cooker can be assembled quickly and inexpensively using upcycled materials from your garage or workshop. Dig in!
If the thought of smoking meat and fish conjures up images of heaps of hardwood, a large smokehouse, and a big investment of time and cash, think again. You can start small with this simple homemade clay-pot smoker that assembles quickly.
Begin this weekend project with a shopping trip for readily available materials, or by rooting around at home for spare parts. So, find your materials, lay out your tools, and let’s get cooking — outdoors.
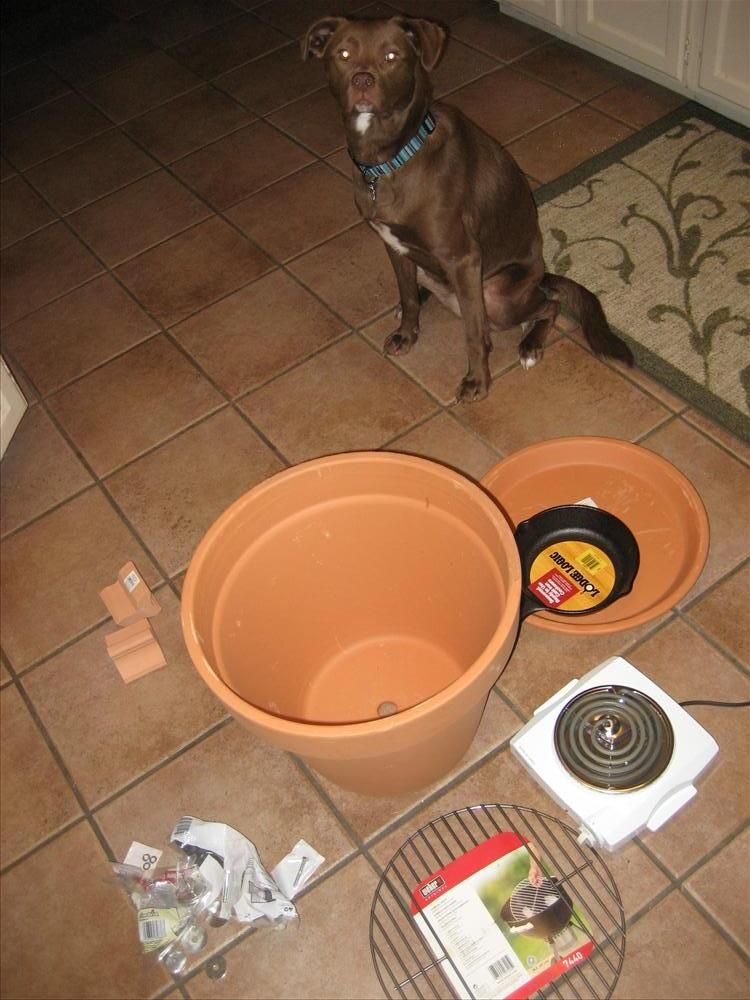
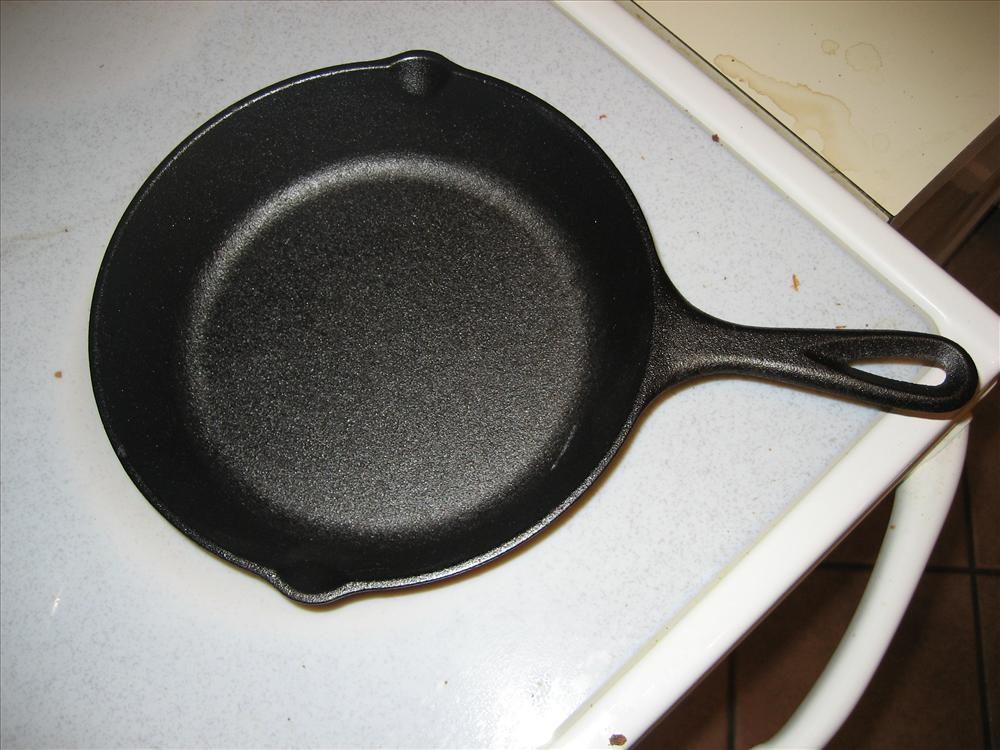
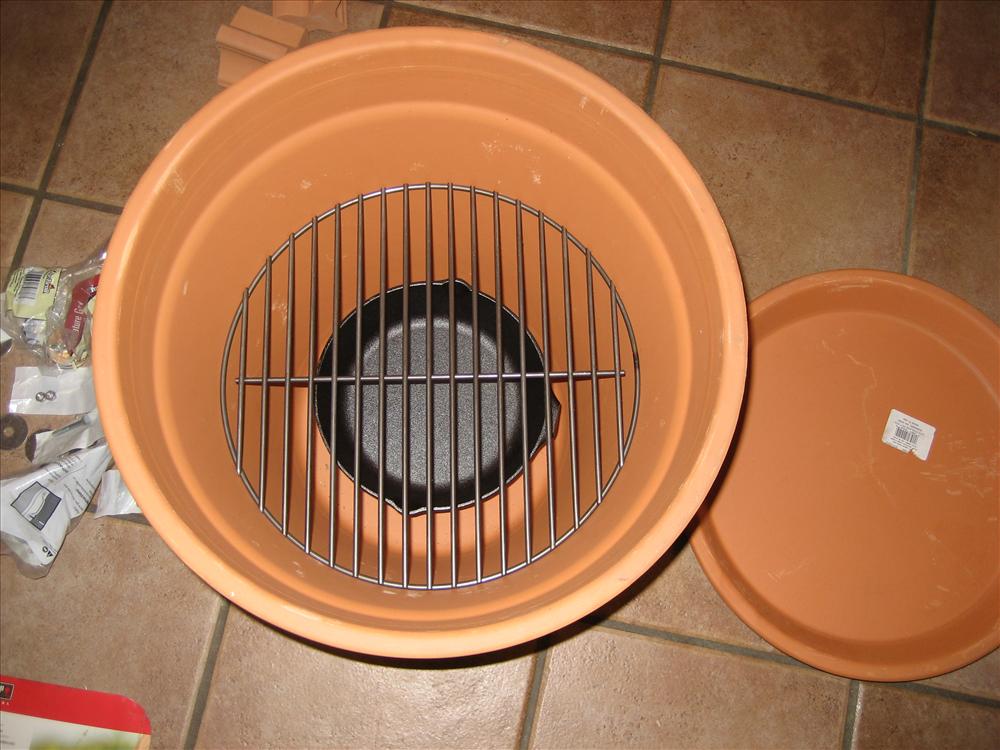
One of the hardest parts of this smoker is finding the suggested pottery piece for the lid. I ended up using the drain pan for the pot size that I picked. I also didn’t like the idea of using a Teflon pan sitting on the burner (something about carcinogens being released at temperatures as low as 464°F), so I opted for an 8″ cast iron skillet. I hated to destroy an otherwise perfectly good cast iron pan, but it was worth the sacrifice for a quality wood chunk vessel.
Read Next: 40 Fascinating Things To Make With Clay Pots
Step 1: Materials
Materials Needed:
1 Flower Pot
1 Flower Pot Drain Pan
1 Single Burner
1 Grill Grate
3 Flower Pot Feet
1 Fence Gate Handle
2 Screws Long Enough to hold it the handle through the lid
2 Nuts for the screws
4 Large Washers
1 Grill Thermometer
1 Masonry Drill Bit (of appropriate diameter)
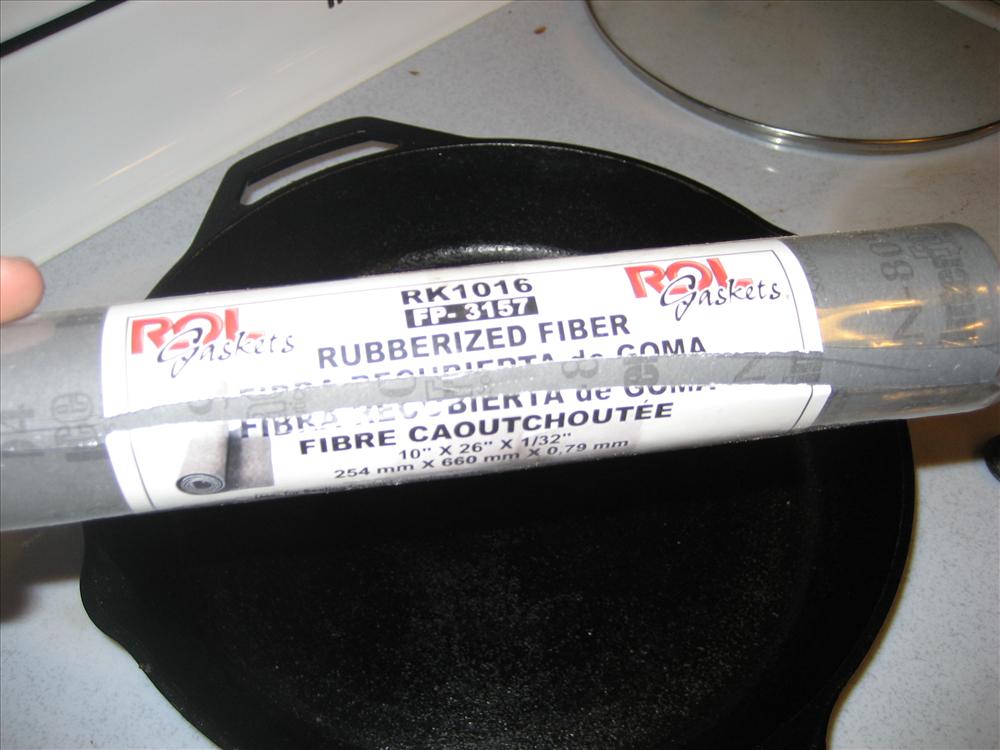
1 Sheet Automotive Gasket Material (Not Shown)
1 8″ Cast Iron Skillet
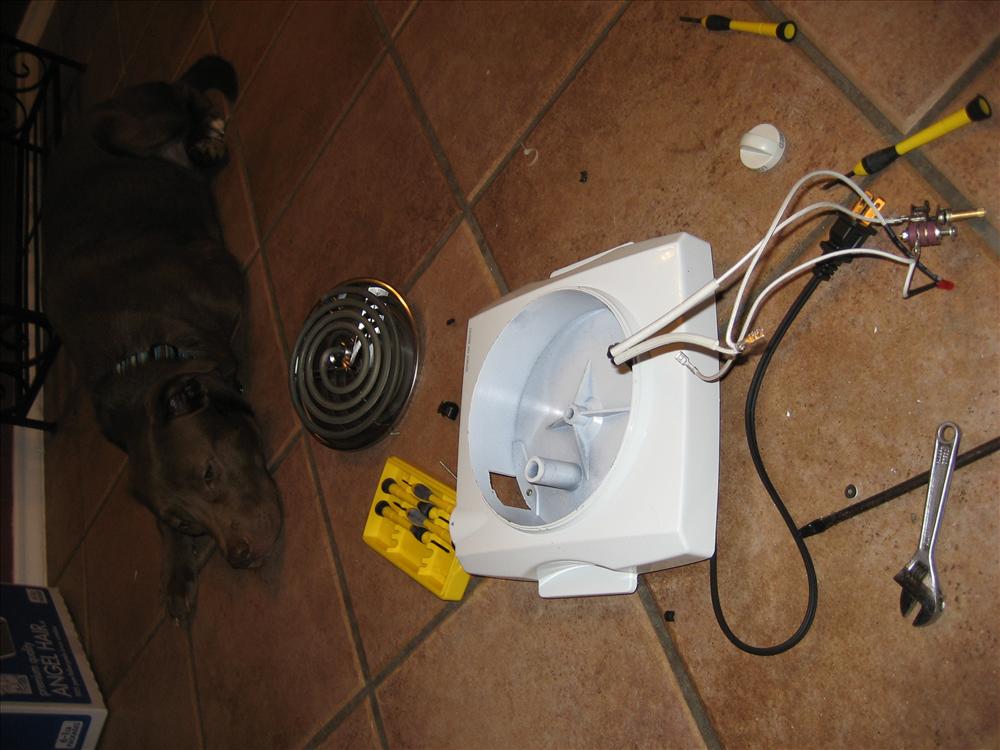
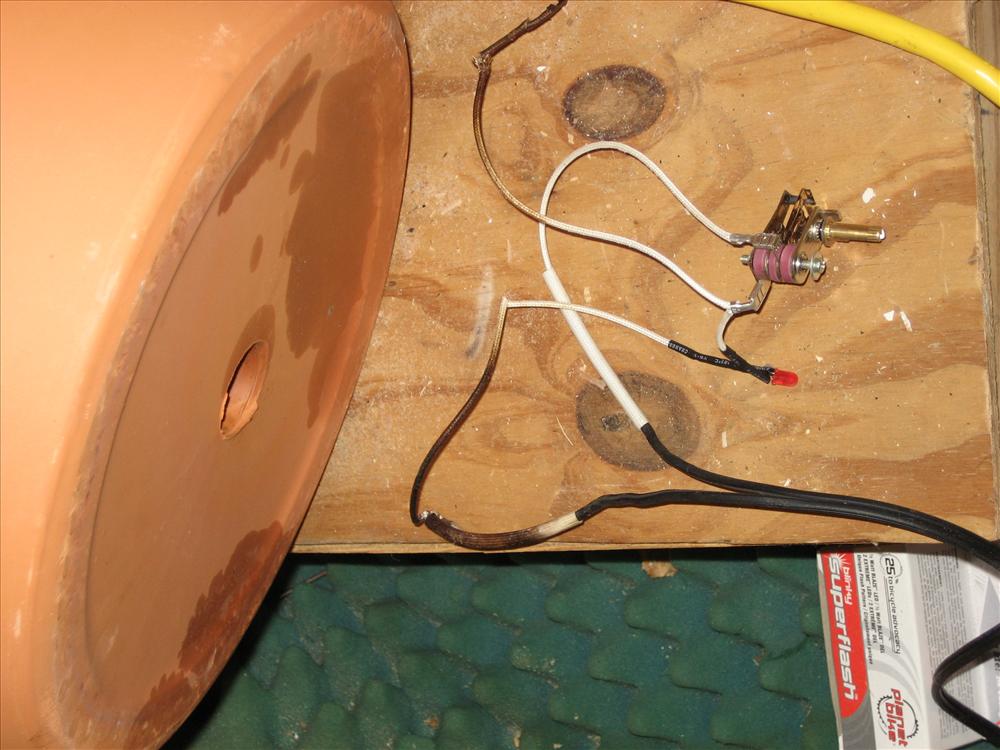
Step 2: Disassemble Burner, Drill Holes
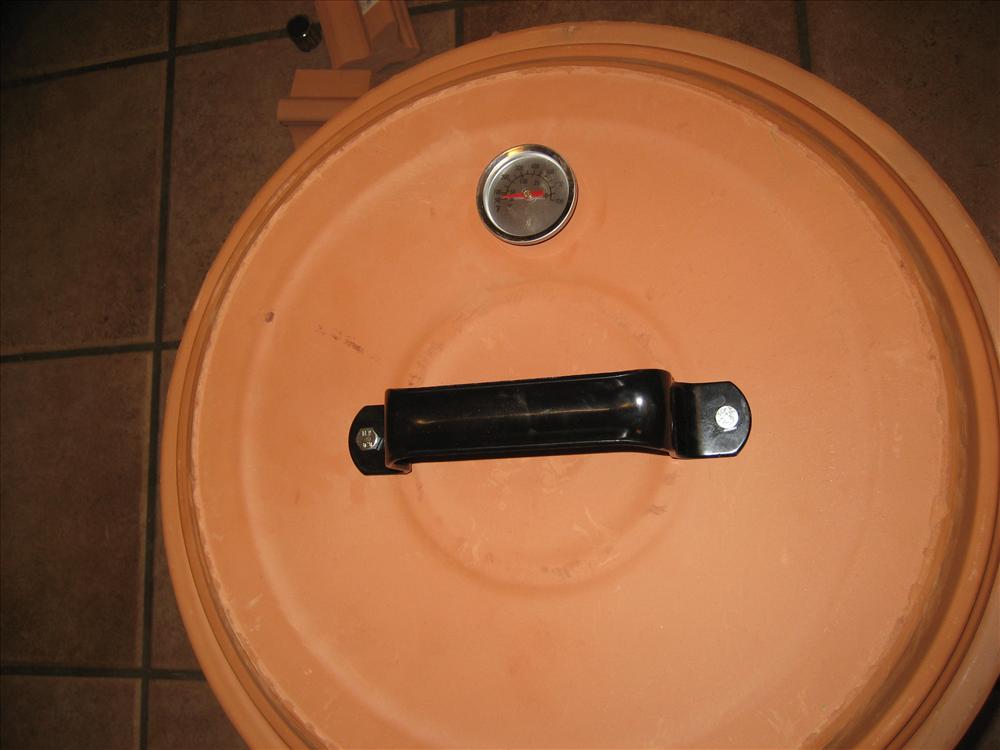
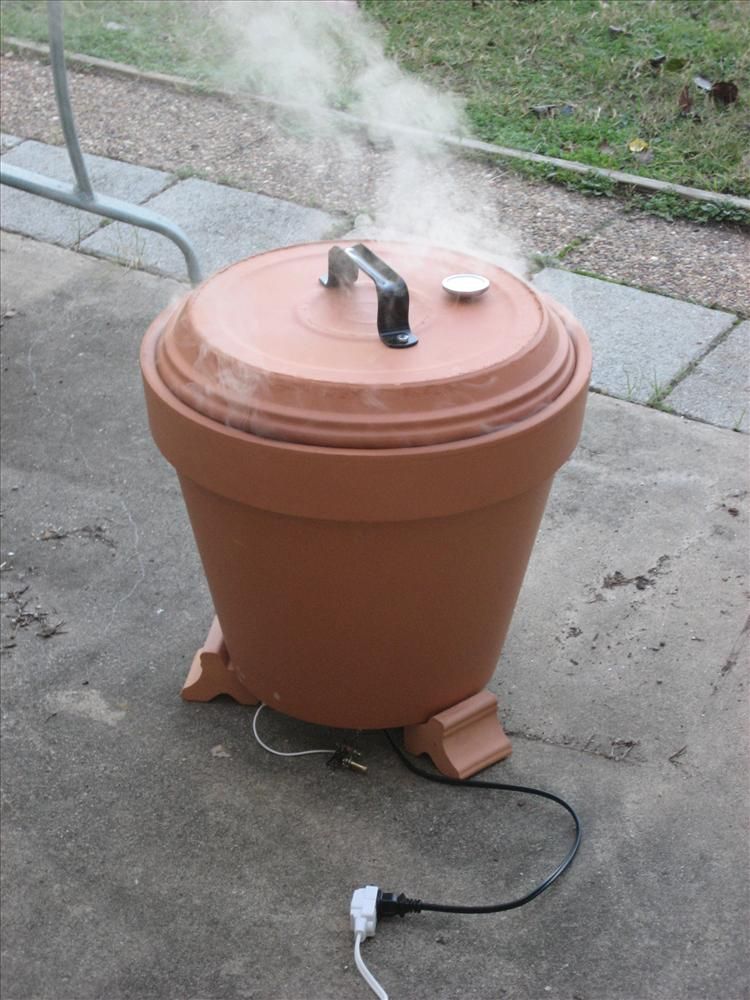
Use the masonry drill bit to drill holes in the lid for the thermometer and the handle mounts. I tried to widen the holes with a regular bit, but it got pretty hot and I didn’t get anywhere. If you cant make the holes big enough, just wiggle the bit around a little.
Step 3: Install the Hardware
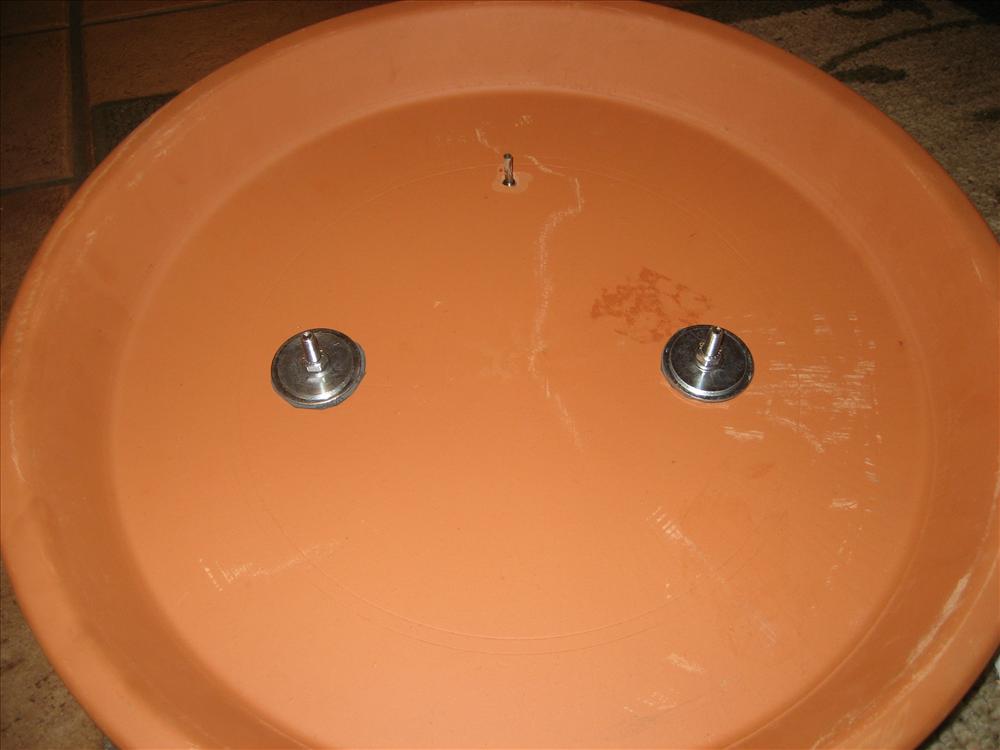
Then put everything together. I used two washers, of increasing size in between the nut and the terra cotta. I wanted to distribute the forces as much as I could so I wouldn’t weaken the points of contact. I ended up just wedging the thermometer in the hole, and its stayed pretty well since. Not too worried about that hole since it isn’t load bearing.
Make sure the skillet you get is actually going to fit in your pot before you cut the handle off. I imagine you would have a hard time returning a skillet sans handle if it doesnt fit.
I used a circular saw with a metal cutting blade. You could use a high speed rotary (Dremel) tool, angle grinder, hack saw, etc. Then I rounded the edges down a bit with a bench grinder
Step 5: Assemble!
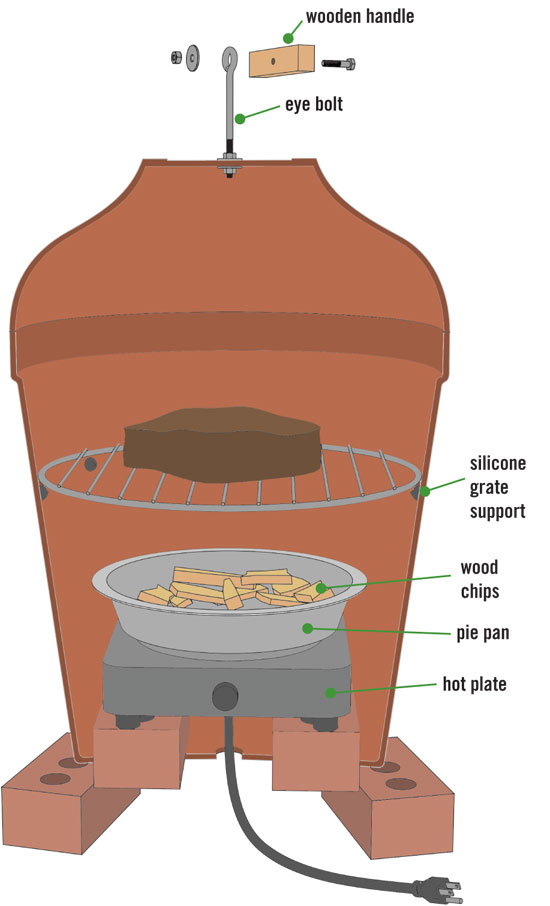
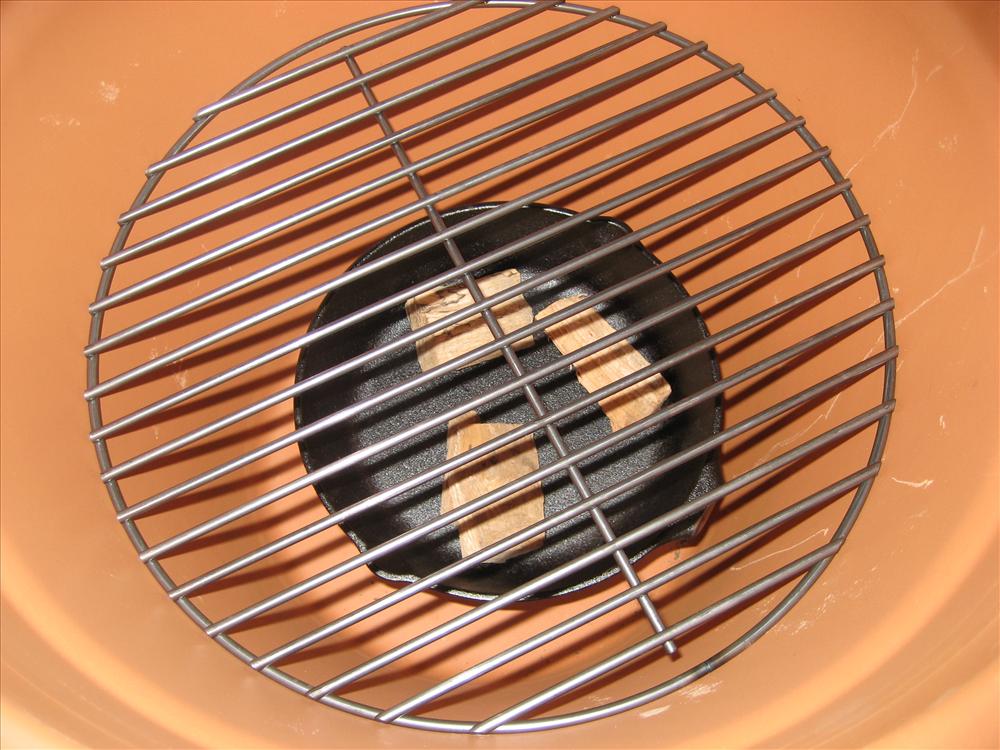
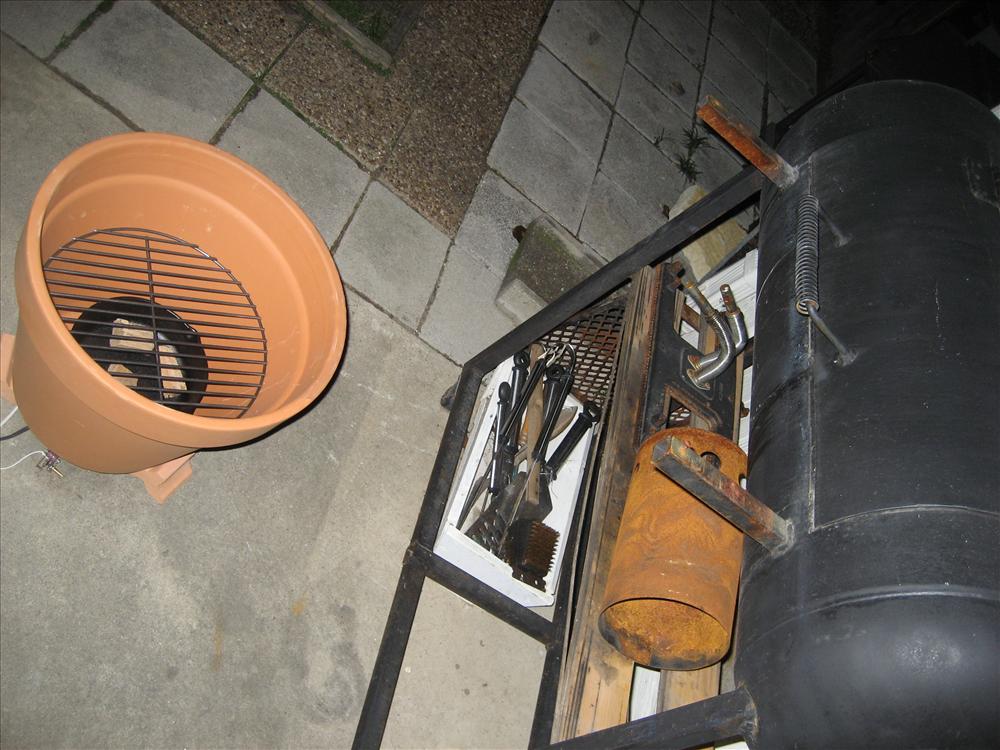
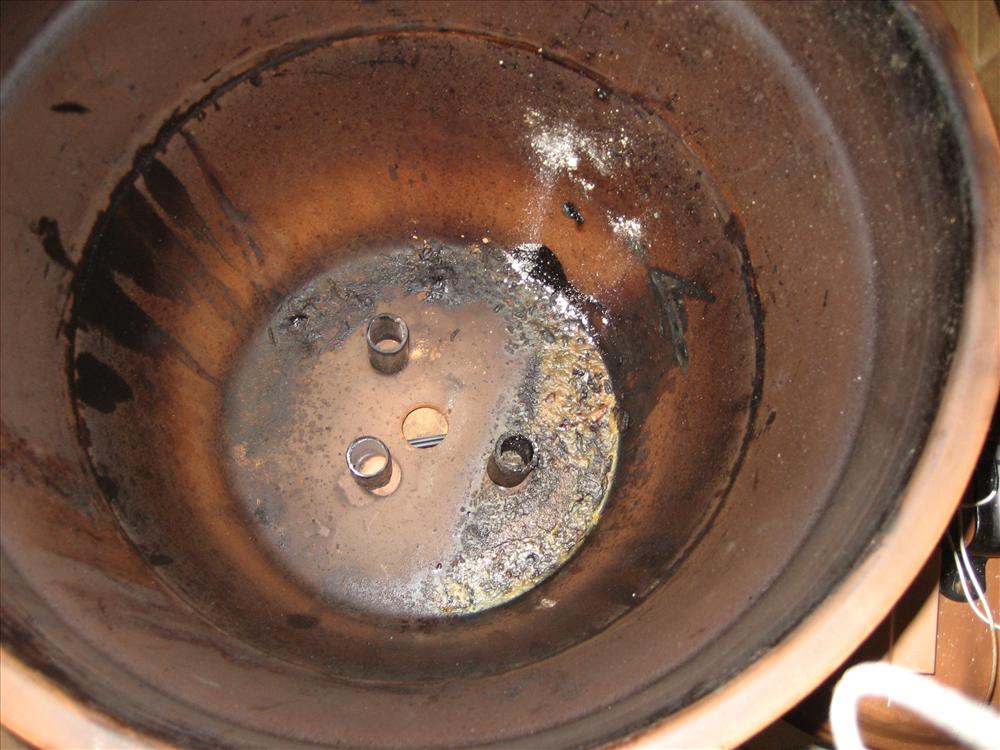
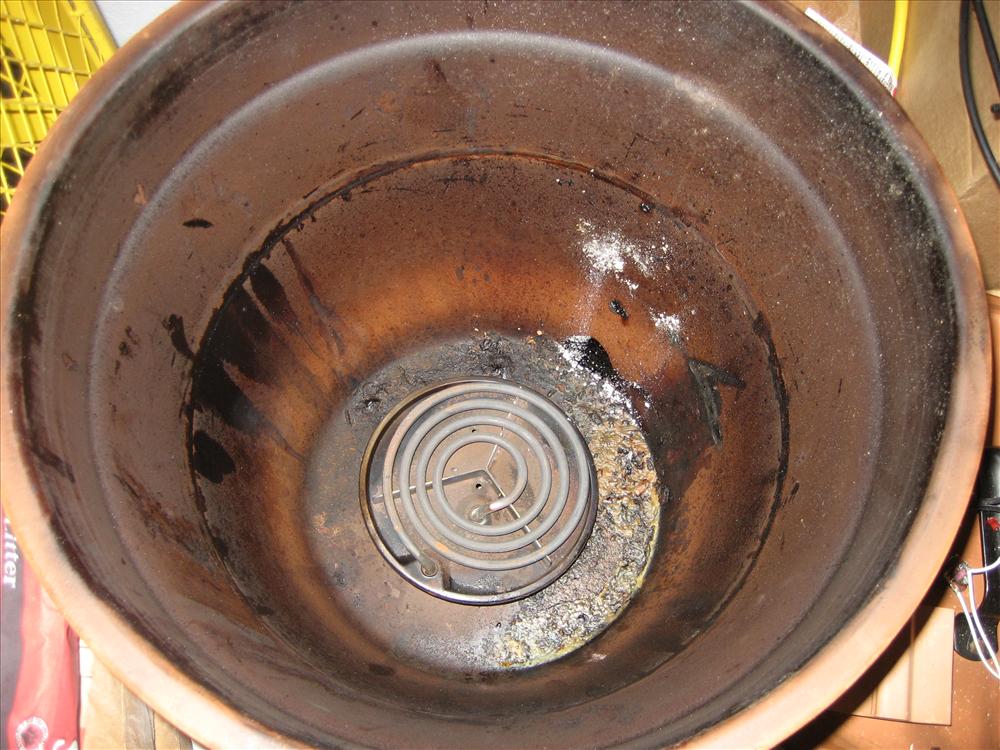
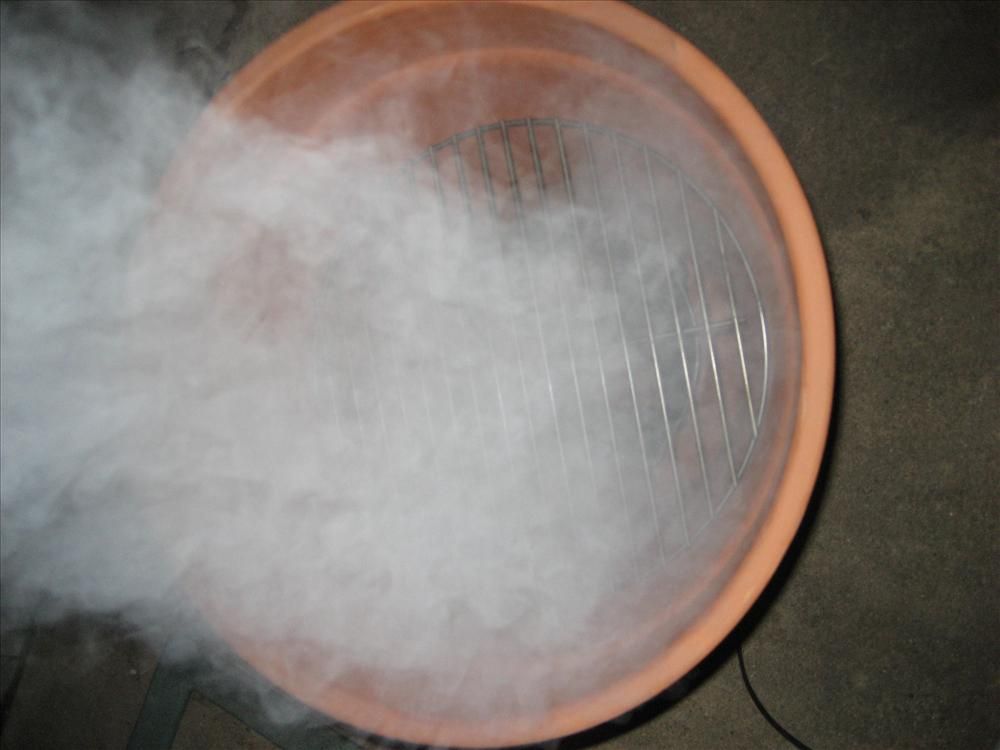
Feed the wires for the burner through the bottom hole, and set your cast iron skilled on top of it with some of your favorite smoking wood. Set in your grill grate, and drop the lid on and you’re ready to go.
Step 6: Other Notes
I like to soak my wood chunks overnight in water, and fill the entire skillet. Before I put the meat on, I preheat the smoker for an hour. Sometimes this requires getting up at 3am for a 5:00 dinner, but its worth it! You can go back to bed waiting for it to preheat.
Keep the temperature lower than you think you should. I’ve found that about 15-20% of the burner heat setting or less is where to keep it, otherwise you’ll crustify the bottom too much.
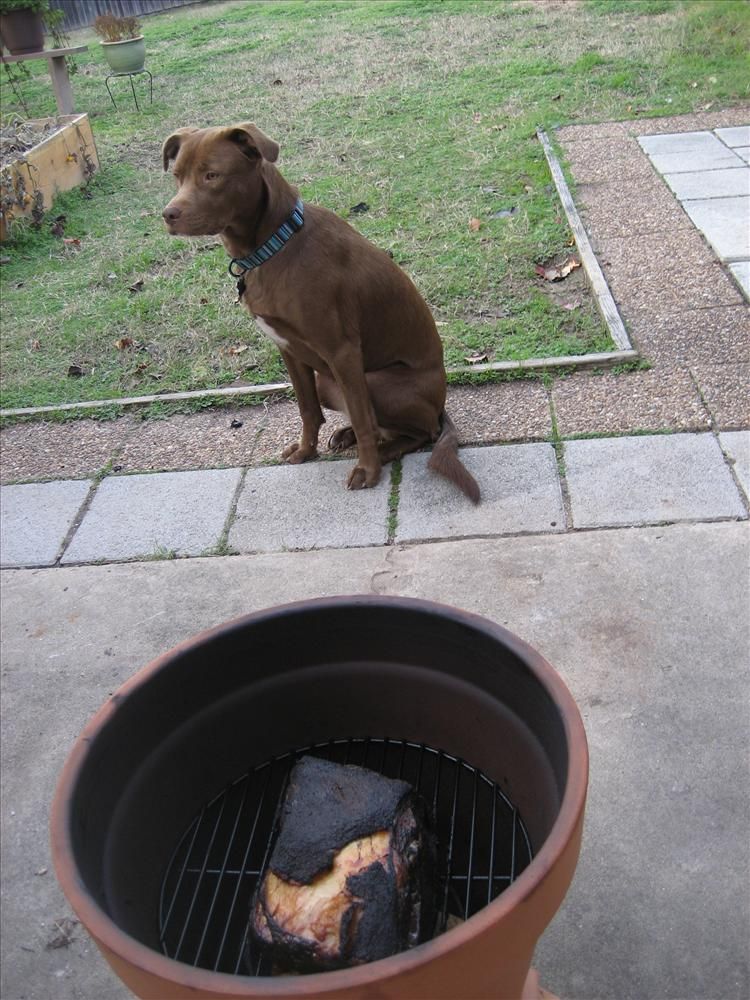
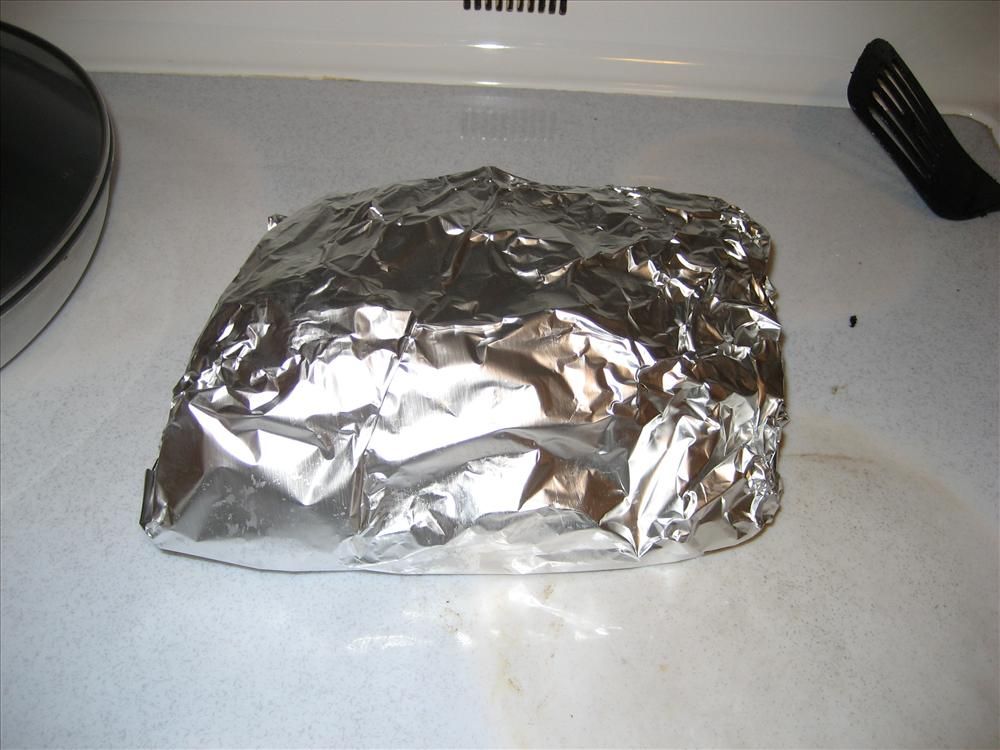
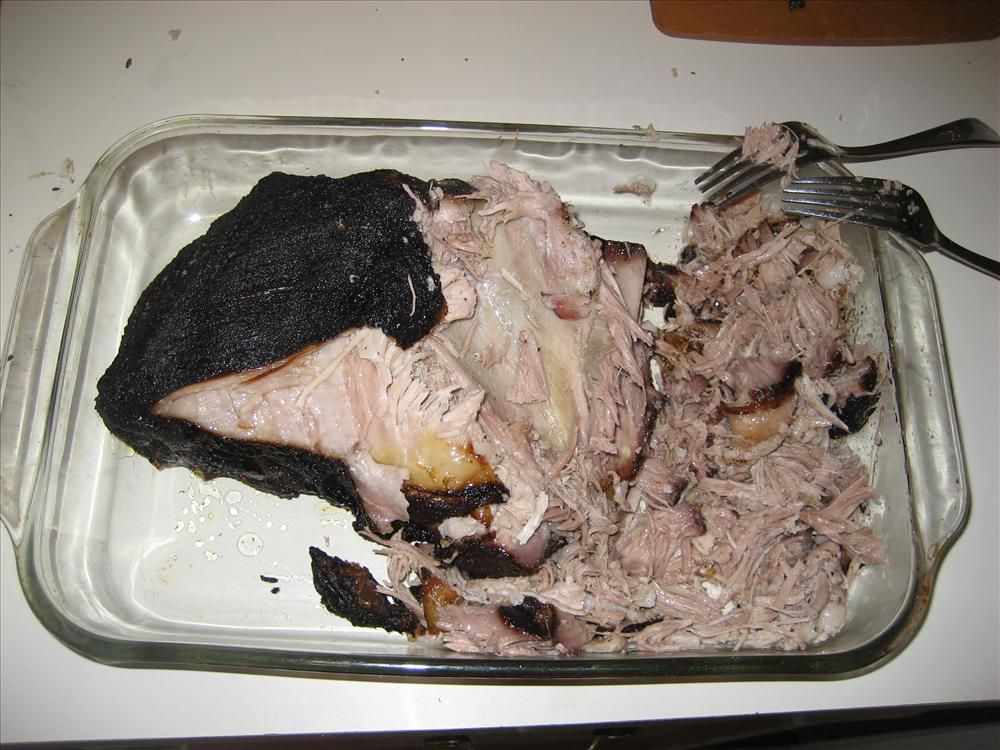
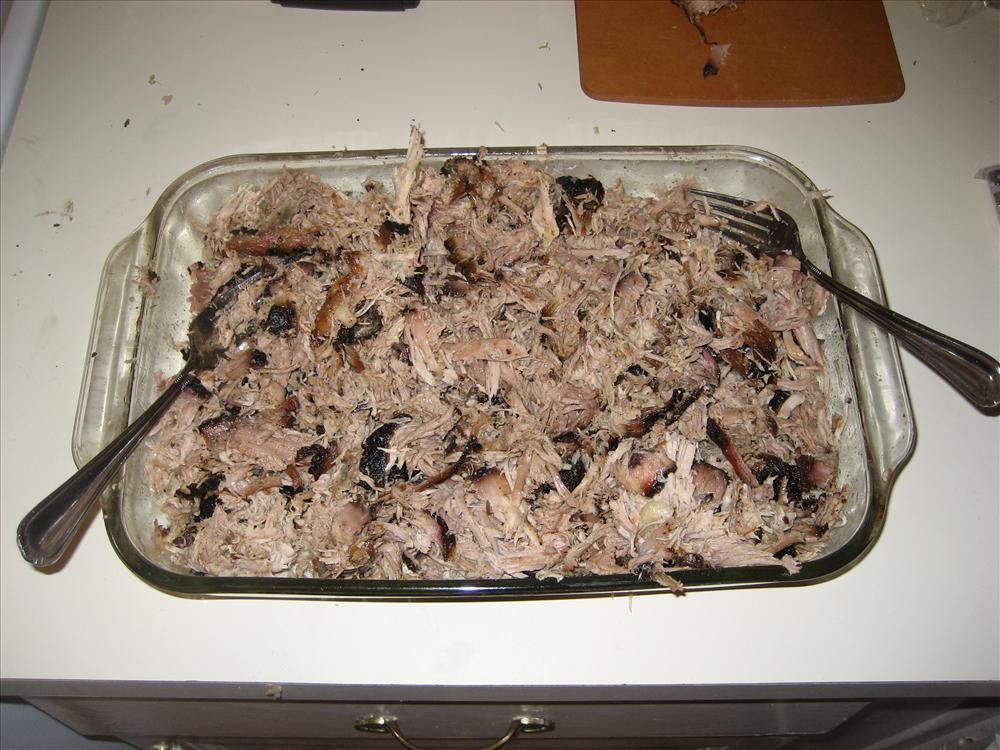
I’ve read that 190° internal temperature is ideal for pulled pork, but I think 200° is the way to go. Then let it rest for an hour.
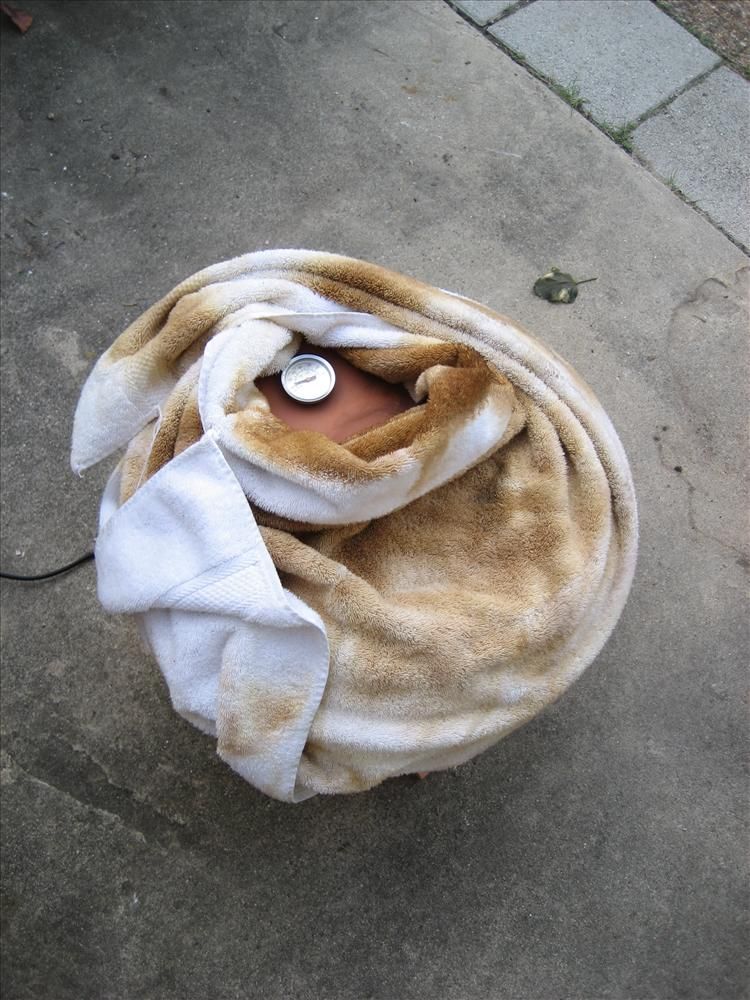
I wasn’t able to get a good enough seal around the rim, so I ended up wrapping it in a towel. I’ve thought about lining the rim with silicone sealant or something like that, but haven’t gotten around to it yet. Seems to work fine without it.
Like what you’re reading? Subscribe to our top stories.











Discussion about this post