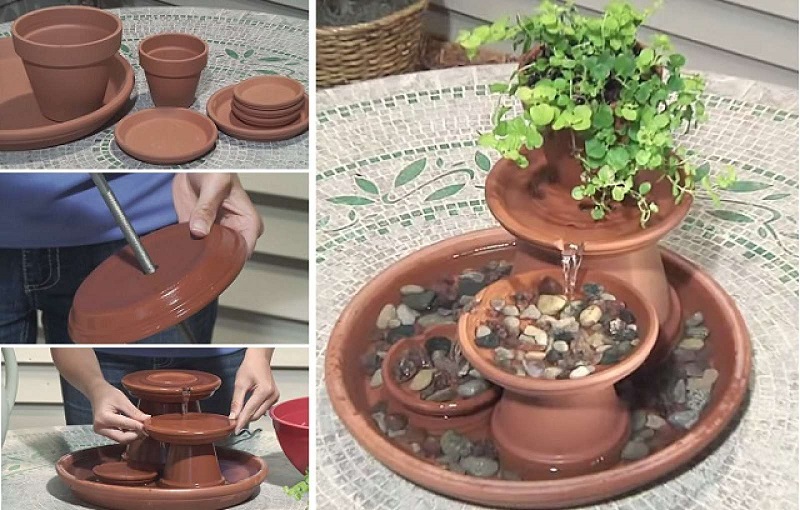
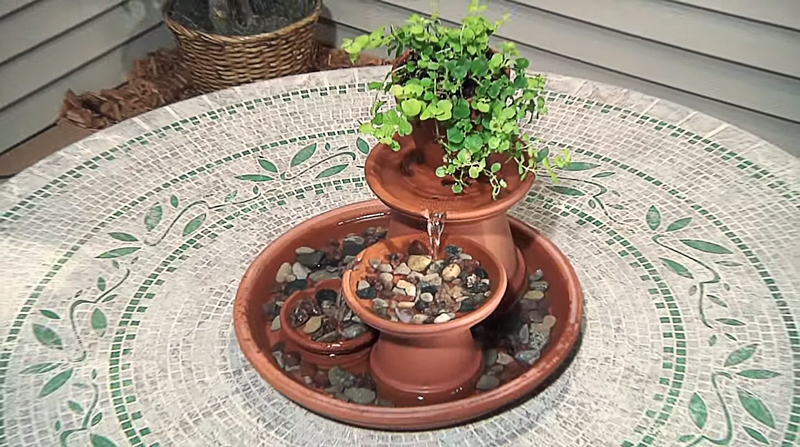
Did you know that Terra Cotta flower pots can be used as a crafts supply? You can create a pleasant and relaxing fountain for your home with only a few unused flower pots. This Zen fountain can help you reduce stress and bring positive energies into your home, which will help you create a peaceful environment for yourself and your loved ones. Of course, it is also an excellent idea for garden decoration.
To make a Terra Cotta fountain, you will need Terra Cotta flower pots and saucers of different sizes, a fountain pump, plastic tubing, a silicon sealer, a clear spray sealer, a round file, and a drill. The first step of the project is to make the saucers waterproof, and you can achieve that by spraying them with a clear spray sealer.
Then you can start assembling your fountain and adding some decorative elements in the end. The video tutorial will guide you through each step you need to complete to build a Terra Cotta fountain, and you can also read the comments section for additional information.
Things You’ll Need:
- 14-Inch, Terra Cotta Saucer (1 pcs)
- 7-Inch, Terra Cotta Saucer (1 pcs)
- 6-Inch, Terra Cotta Saucer (1 pcs)
- 4-Inch, Terra Cotta Saucer (3 pcs)
- 6-Inch, Terra Cotta Flower Pot (1 pcs)
- 4-Inch, Terra Cotta Flower Pot (1pcs)
- Fountain Pump
- Plastic Tubing
- Silicon Sealer
- Clear Sealer
- Round File
- Drill & Masonry Bit
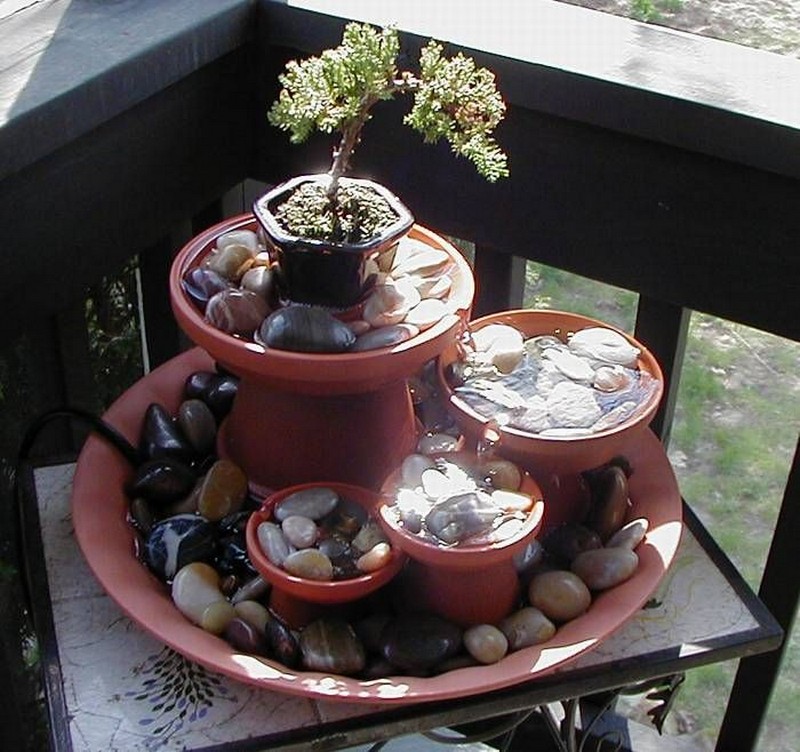
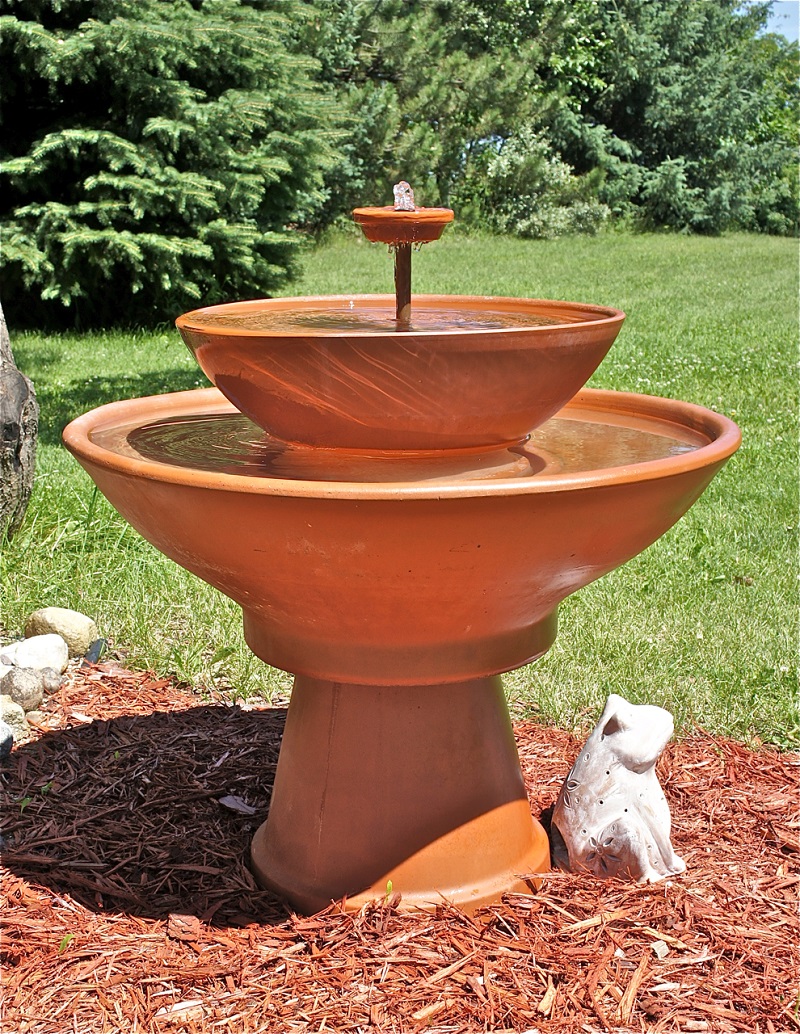
If you have been looking for a substantial size fountain for your garden, Terra Cotta planters available at your local garden center offer many possibilities and a pleasing natural outdoor look.
The fountain we made for our front garden stands about 32″ tall from the ground to the top. The upper bowl is approximately 21″ in diameter, and the lower basin is approximately 32″. The fountain holds a generous quantity of water.
Step 1:
The fountain pump is located in the large basin. Its power cord is fed through a plastic pipe plug drilled to accept the cable and sealed with silicone. To thread it through, the electrical plug was cut off the end of the pump power cord, and a new plug was put on afterward.
One does not want any cuts and connections in the power cord, which may be underwater because of a possible shock hazard. And for general safety, the fountain is always plugged into a GFI receptacle.
A pipe bushing glued into the bottom hole of the terra cotta bowl accepts the pipe plug. This way, the pipe plug can be unscrewed to remove the pump with its complete power cord intact for winter storage.
Step 2:
The pump is positioned in the center like this and loosely held in place by the rigid plastic pump output tube passing through the parts of the fountain that are placed above it.
Step 3:
An inverted planter goes over the pump. This planter supports the upper bowl of the fountain.
Step 4:
The pump tube passes into the upper bowl through a garden hose fitting. The fitting is soldered into a large brass washer which is in turn glued into the bowl.
Step 5:
The nipple in the upper basin accepts a 1/2″ copper riser pipe which slides over the plastic pump tube. A female garden hose connector is soldered to the lower end of the pipe; with the usual rubber gasket inside, it forms a leak-tight seal for the upper basin.
A shouldered bushing on the top of the riser pipe supports a small terra cotta dish.
Step 6:
The dish fits over the bushing at the top of the riser pipe and rests on the shoulder of the bushing. The upper dish catches water bubbling out of the riser and spreads it to drip into the basin below for aeration.
The inner plastic pump tube is just a bit shorter than the copper riser; an O-ring stretched around the pump tube (visible in steps 2- 4) effectively blocks water from leaking down the space between the pump tube and the copper riser pipe. The O-ring is not at all a tight fit inside the copper riser – it just blocks a little unnecessary leakage.
Like what you’re reading? Subscribe to our top stories.











Discussion about this post